After you've finished editing your pages and previewed your changes in the workspace, it's time to publish your content to the web.
Destinations
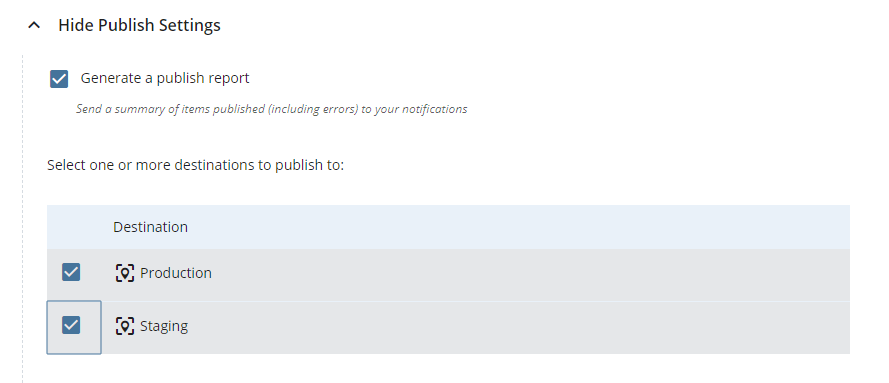
Content can be published to the Staging server or the Production server. Both destinations will be enabled and selected for publishing by default. If the site hasn't launched yet, only the Staging destination will be enabled. You can disable either destination by unchecking it during the publishing process.

Staging
The Staging destination is a proofing environment used to preview the site before making your changes live. The staging site can be viewed at https://staging.umt.edu/site-name/ (replace "site-name" with your specific site URL).
Production
The Production destination is your live site where web users will be able to access your site's content. The live site can be viewed at http://www.umt.edu/site-name/ (replace "site-name" with your specific site URL).
Note: Web Technology Services will complete the initial publish to Production for a new site when it is ready to launch. We will first do a review of your content, mostly checking for any accessibility issues. After the review, we will help with any recommended changes/updates and then publish your page live.
How to Publish
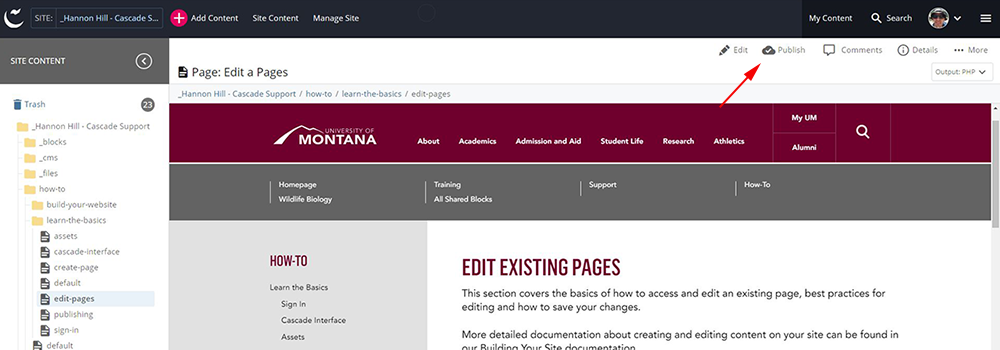
A single page, folder, or an entire site can be published. Click on the Publish link located at the top right of the Workspace window. When a folder is published, all assets contained within the folder are also published. Use the following steps to publish an asset.
- Select the asset to be published (page, folder, file).
- Click Publish in the top right of the workspace, or right-click on the asset in the asset tree and select Publish.
- Available publishing destinations will be listed. If they don't display, click View Publish Settings.
- Check or uncheck destinations. Only checked destinations will publish.
- Click Publish.
